The invitation:
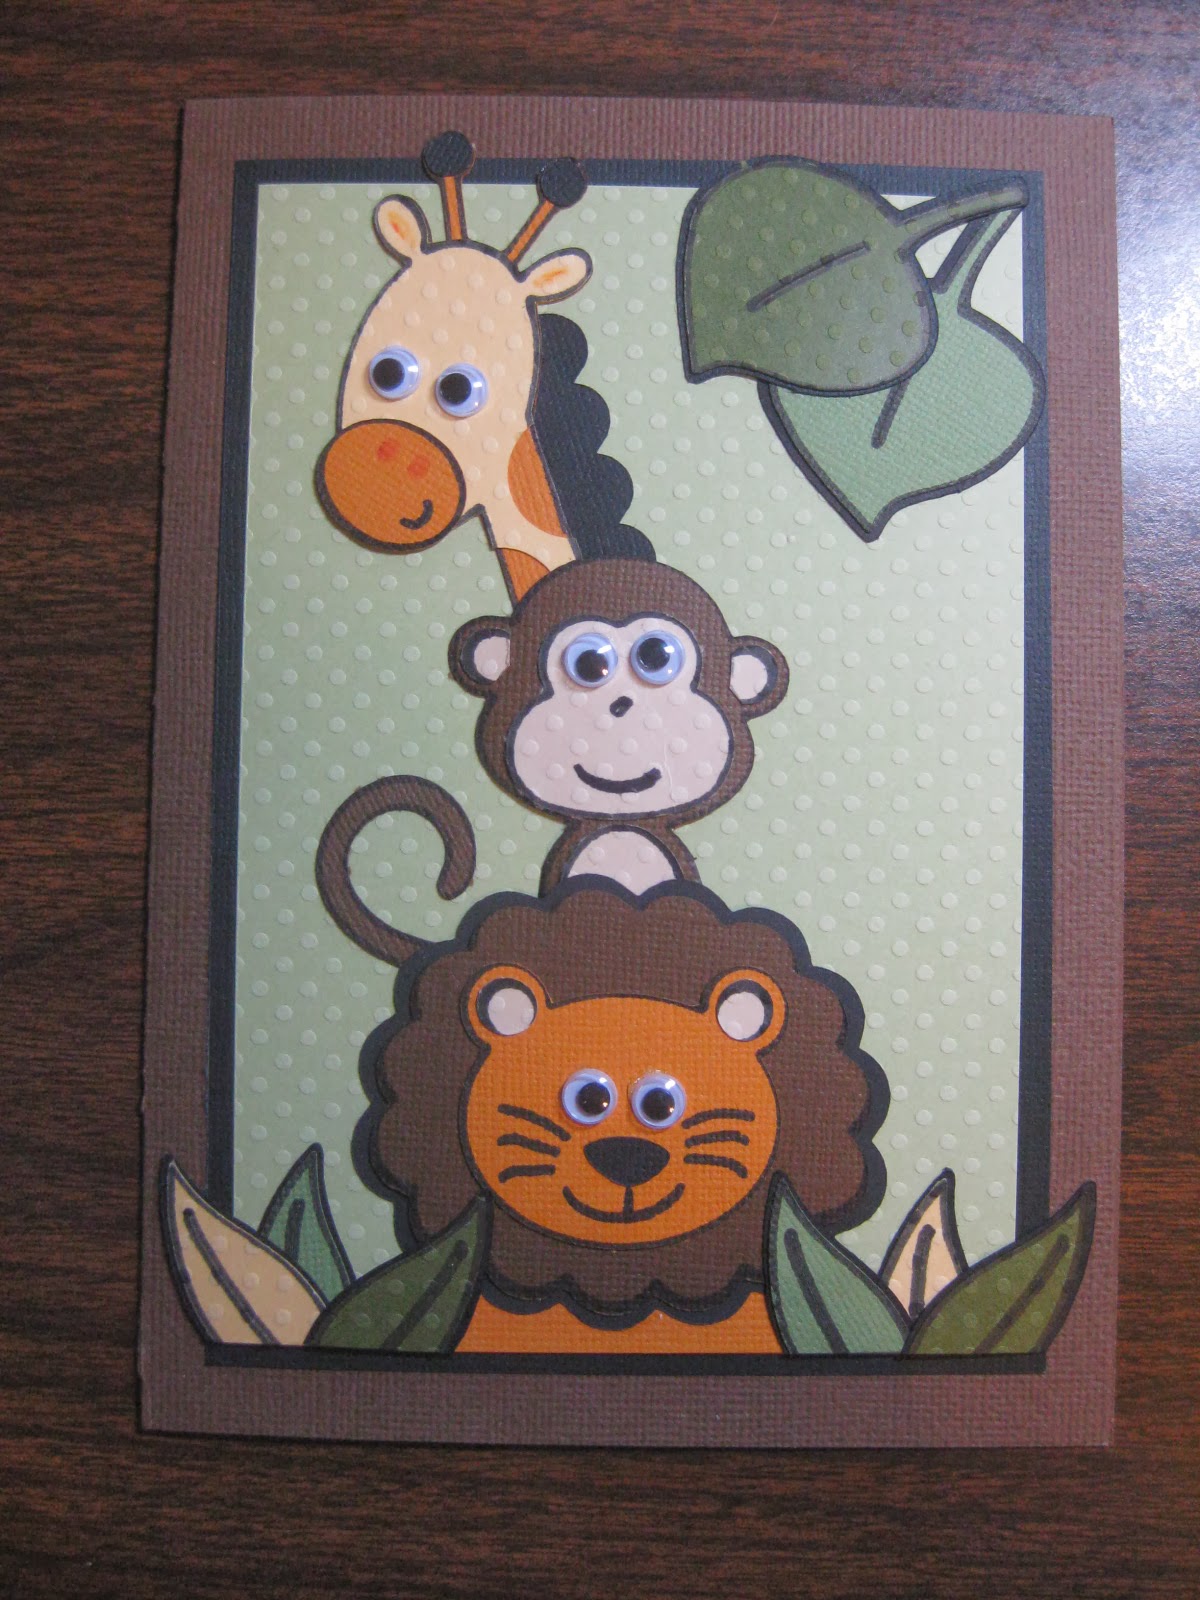
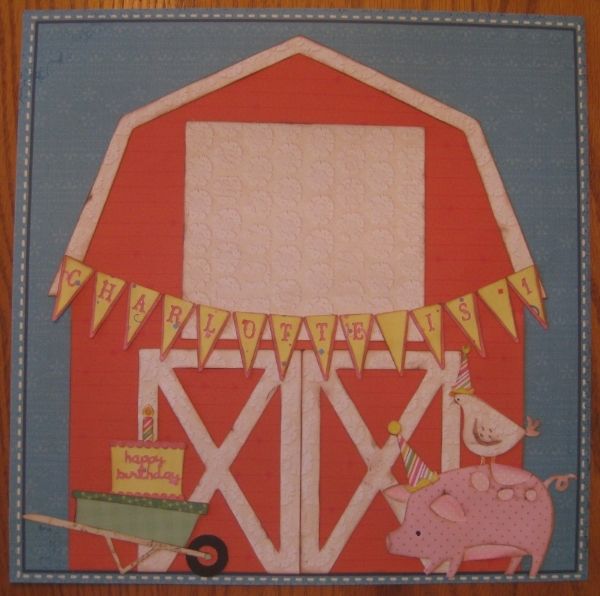
I wanted my shower decorations to serve as pages in a scrapbook for my DIL. I created a door hanger that will serve as the title page in the scrapbook.

The banner:

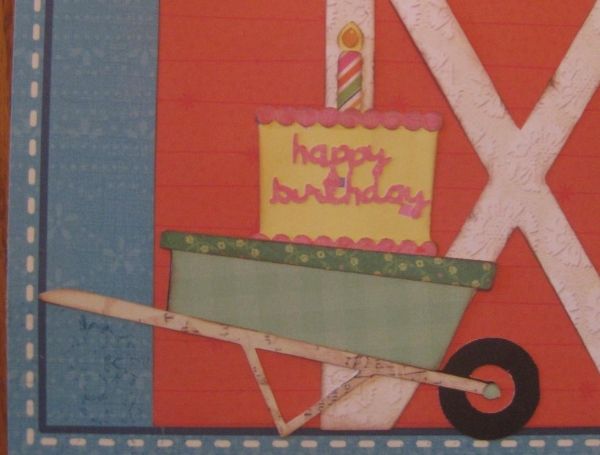
The cake:

I used the following cartridges: New Arrival (giraffe, elephant, monkey and "Baby Shower"), Create A Critter (lion, zebra), Nursery Rhymes (font) Art Philosophy (border used for giraffe mane), Don Juan (leaves), and Elegant Edges (heart frame). Using Cricut Craft Room I created new faces for the monkey and lion using shapes from George Basic Shapes. All images were drawn first using Cricut markers. Faces were hand drawn.
I also made my first diaper cake. Well it wasn't actually a cake.

The centerpiece was a flower arrangement from Costco and a musical toy for the baby from their registry.

Games: Animal ABCs - Write an animal for each letter of the alphabet.
Name that Animal Baby - Fill in the name of each animal baby
Rhyme Time - Decipher the hint and name the rhyme
We had such a lovely time and it was so fun oohing and aahing at all the sweet baby things.